How to Plant a Tree
How to Plant a Tree
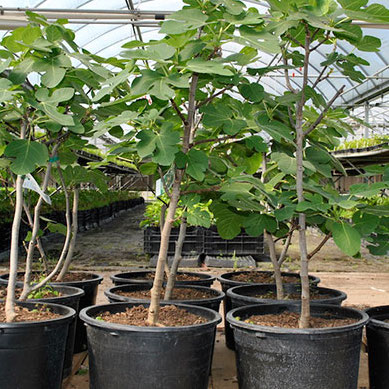
Plant Selection
Before selecting a plant it is important to observe the growing conditions of the area to be planted; the hours of direct sunlight, the soil type (clay, loamy, sandy), and the proximity of a water source. It is better not to plant under the canopy of trees because the roots will compete for water and nutrients. The trees also create shade that could be a problem for most plants.
Care Prior to Planting
Keep the plant out of the hot sun when possible and check the soil in the root ball for dryness. Water daily as needed to keep the soil moist until the plant can be planted.
Planting Instructions
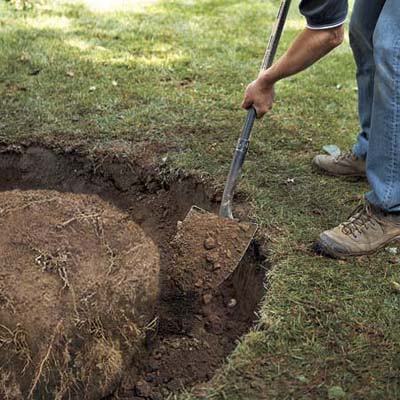
1. Dig a hole the same depth as the rootball and 2-3 times the width of the rootball.
2. Mix the soil that was removed from the hole with planting mix at a rate of 5 lbs. for every foot of height or for every foot of spread of the branches. Another option is using a mixture of soil, composted manure and peat humus. Northeast Nursery recommends using Mycor™ Tree Saver® Transplant inoculant*. When installing plants in dry areas or container plantings that are not watered often, it is recommended to use Soil Moist polymers.
3. Do not remove burlap or metal cage from the rootball. If the plant is in a plastic container, remove the container and "score" the rootball making several vertical slices around the rootball to allow the roots to spread out after planting. If the roots a circling around the base, loosen them by gently pulling them away slightly to encourage the roots to spread out. (fig. 1)
4. Set Plant in center of the hole and back fill 2/3 of the hole with soil. Firm the soil around the rootball making sure plant is straight and then water until the soil is moist. If there is rope tied around the trunk, remove it and fold back the burlap.
5. Finish filling in the soil around the rootball so that it is level with the grade of the planting site. Build a "well" using soil around the edge of the hole to contain the water. (fig. 2)
6. Fill the "well" 3 times with water so that the soil around the roots becomes moist. If the soil has a large amount of clay then it could create a "bathtub" effect by holding too much water in the root zone. It may be necessary to set the rootball slightly higher than the surrounding soil level and mound the soil around the rootball. (fig. 3)
.jpg_rendition_largest_550.jpg)
Figure 1 Figure 2 Figure 3
Watering
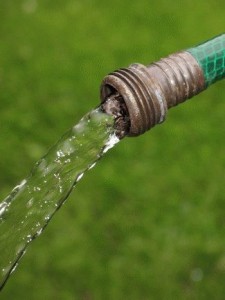
Water 2-3 times per week in the beginning when the roots are getting established as well as during warm weather. When established, the plant may only require water once a week.
Water deeply near the root zone rather than overhead so the deeper roots get water. If it is unclear how deep the water is penetrating, dig a hole alongside the rootball to check the depth of penetration. The frequency of watering will also be determined by the type of soil.
If the area is sandy then it may be necessary to water more frequently or less frequently if the soil has a high amount of clay. Be sure to try Soil Moist polymers it stores over 200 times its weight in tap water, releasing a steady supply of water as your plants need it.
Fertilizing
There are three basic nutrients in most fertilizers: nitrogen (N),phosphorus (P), & potassium (K).These nutrients will be listed as a set of numbers such as 10-6-4 which means there is 10% nitrogen, 6% phosphorus & 4% potassium by weight. Flowering plants require a high phosphorus fertilizer such as 5-10-5.
Foliage plants need a high nitrogen fertilizer such as 5-3-3. If the plant is acid-loving such as rhododendron or azalea use an acid based fertilizer such as 4-6-4. If an all purpose fertilizer is desired to feed most of your plants, then use 8-8-8. Northeast Nursery recommends Healthy Start ® 3-4-3*.
Healthy Start 3-4-3 is the starter fertilizer that doesn't stop. It immediately adds rich organic matter to the soil while it also provides slow-release N-P-K. Healthy Start slowly releases nutrients as it biodegrades, restoring natural fertility to disturbed soils over 8-12 weeks.
Six species of beneficial bacteria provide sustained fertility throughout the growing season, decomposing organic matter, releasing mineral nutrients and improving the soil's physical properties.
- Excellent for all plantings, including seeded lawns and sod installation
- Does not contain sewage, sludge or manure
- Excellent 100% natural alternative to synthetic fertilizers
- Will not burn plants or roots
Pruning
Pruning is not always necessary but there are several reasons why it is important:
- Remove any broken branches to improve the appearance and health of the plant.
- Remove any dead or diseased branches to prevent the spread of disease. Be sure to sterilize the pruning tools with 10% bleach solution between cuts to also prevent the spread of disease. Don't compost diseased plant materials.
- Remove branches that cross through the center of the plant and also remove branches that point downward if they distort the overall shape of the plant.
- Remove any branch that rubs against another branch to prevent the spread of disease from injured bark.
- If a plant is getting too big or out of shape it can be cut back. It is important to know when the flower buds form so they are not removed when pruning. Pruning soon after the flower petals fall will prevent the removal of next year's flowers.
- When pruning, it is recommended that no more than 1/3 of the plant's branches be removed in one year.
- In general, the bud closest to the fresh cut after pruning will be the one that grows. It should be pointing away from the center of the plant.
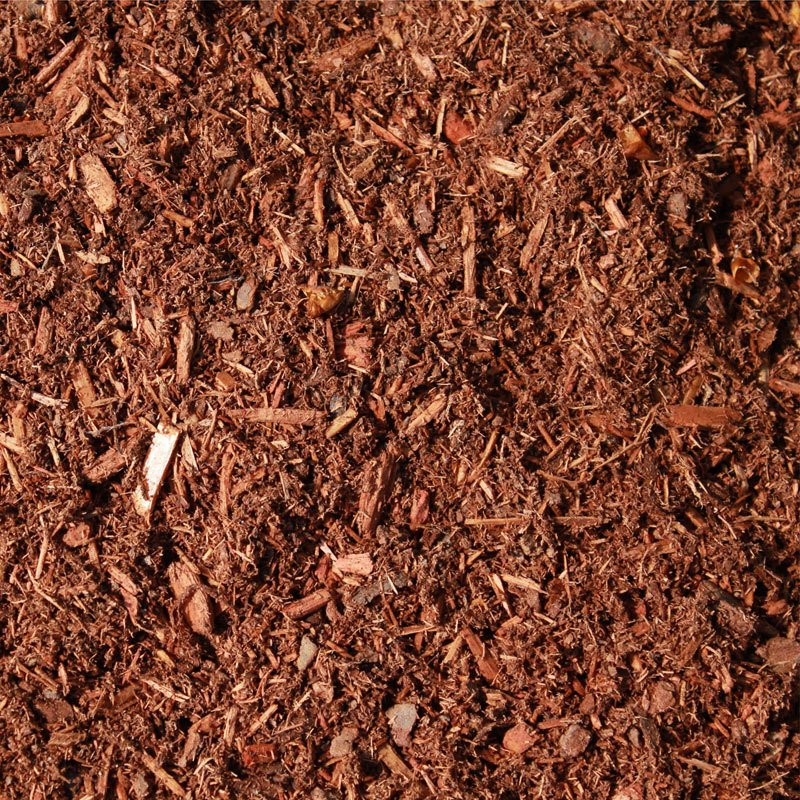
Mulching
There are many kinds of mulch as well as many reasons for using them. All of them help retain the moisture in the soil around the roots and prevent weeds from growing. The main difference between the types of mulch is their physical appearance.
Apply mulch approximately 2 inches deep for best results. Some of the more common mulches are hemlock, pine / spruce mix, cedar, pine bark nuggets, cocoa shells and buckwheat hulls.
Other Helpful Tips
Check plants regularly for insects and disease so they don't become a problem. The best defense against these problems is planting in the proper area so the plant isn't under stress due to poor growing conditions.
Remove any weeds around plants to prevent competition for water and nutrients. Weeds harbor insects and diseases that may infect the garden plants. This will reduce the amount of work later in the season.
If your plants start to look stressed you may want to try PHC BioPak® Plus 3-0-20*. This will improve the mineral nutrition, color, and flowering of trees and shrubs with its combined micro nutrient treatment and bio fertilizer inoculant. Contains the beneficial rhizosphere bacteria of PHC BioPak, with potassium, chelated micro nutrients and yucca extract. Apply by soil injection or drench.
Products Mentioned:
.jpg)
.jpg)
.jpg)