Seed Starting Tips & Tricks
Seed Starting
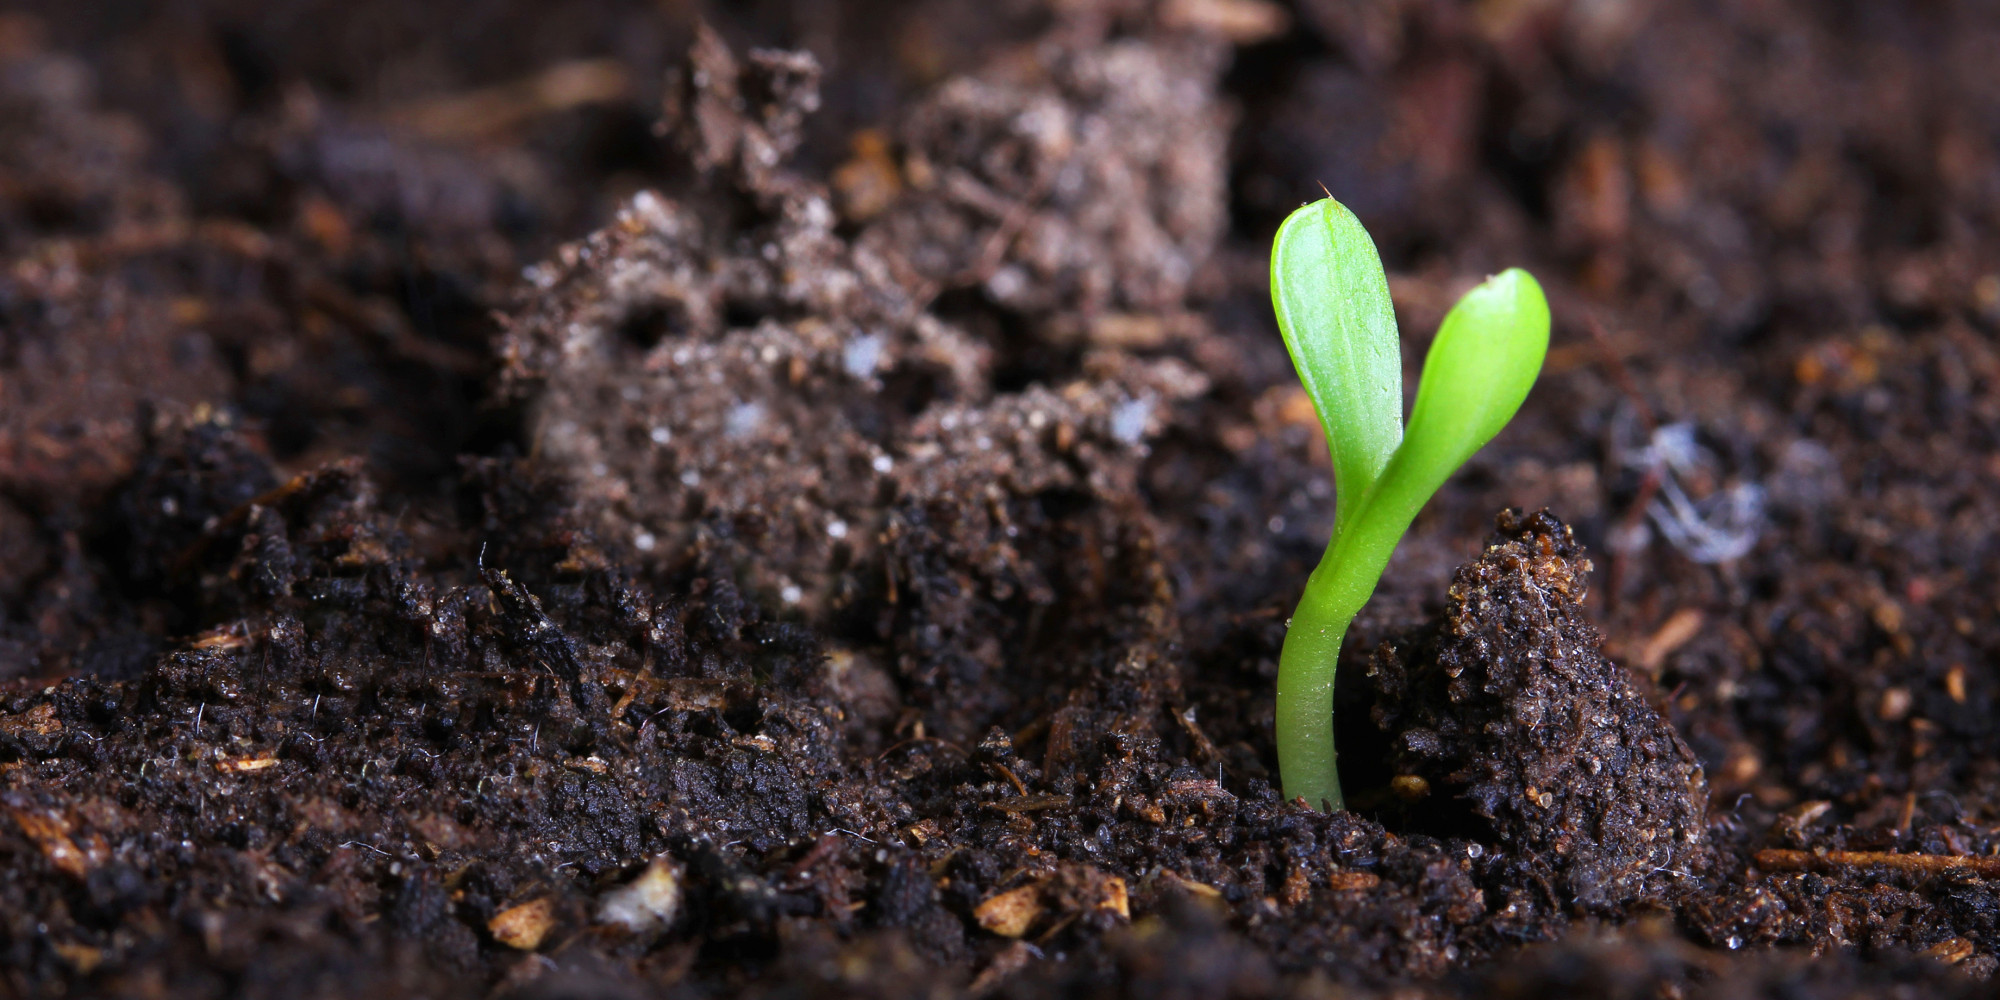
Starting seeds inside before it is safe to plant outside can be fun for you or your family. Some seeds germinate faster than others so it is important to know when you plan on planting the seedlings into your garden or landscape bed.
There many advantages when starting seeds prior to planting. You do need to have sufficient space and light requirements and some time to water and maintain them.
Here are the benefits:
 Fun project for you or your children to learn about plants and care
- Many seeds that are available know are not sold as a finished product in the spring. This is your opportunity to have something a little different in your garden
- Some plants are better starting from seed
- You can enjoy the smell of plants in you house during the cold late winter/early spring months
At Northeast Nursery we have all of the supplies you need to start and maintain your seedlings. We have a large selection of seeds from Livingston Seed Co. and Botanical Interests.
Botanical Interests offers more than 500 varieties, including more than 100 heirloom varieties and 140 Certified Organic varieties. The company has taken the “Safe Seed Pledge” — all seeds are GMO free.
Our store has soilless mix potting soil, cell packs, fiber pots and much more to help you get started. Here are steps necessary for starting, maintaining, and preparing for your outdoor garden bed.

Steps for Your Outdoor Garden Bed
1. Getting Started
Planning is the most important step. Spend some time looking at what areas you have room for. Pick appropriate colors and understand the potential size that the plants will grow to. Light requirements are important (shade vs. sun).
Understand how long the seeds take to grow and when it is safe to plant out doors. Some seeds germinate better by direct sowing into the garden in the spring. Planning will alleviate the problems of wrong plant – wrong location comes spring.
After you have planned out your garden then come in and select the seeds you want.
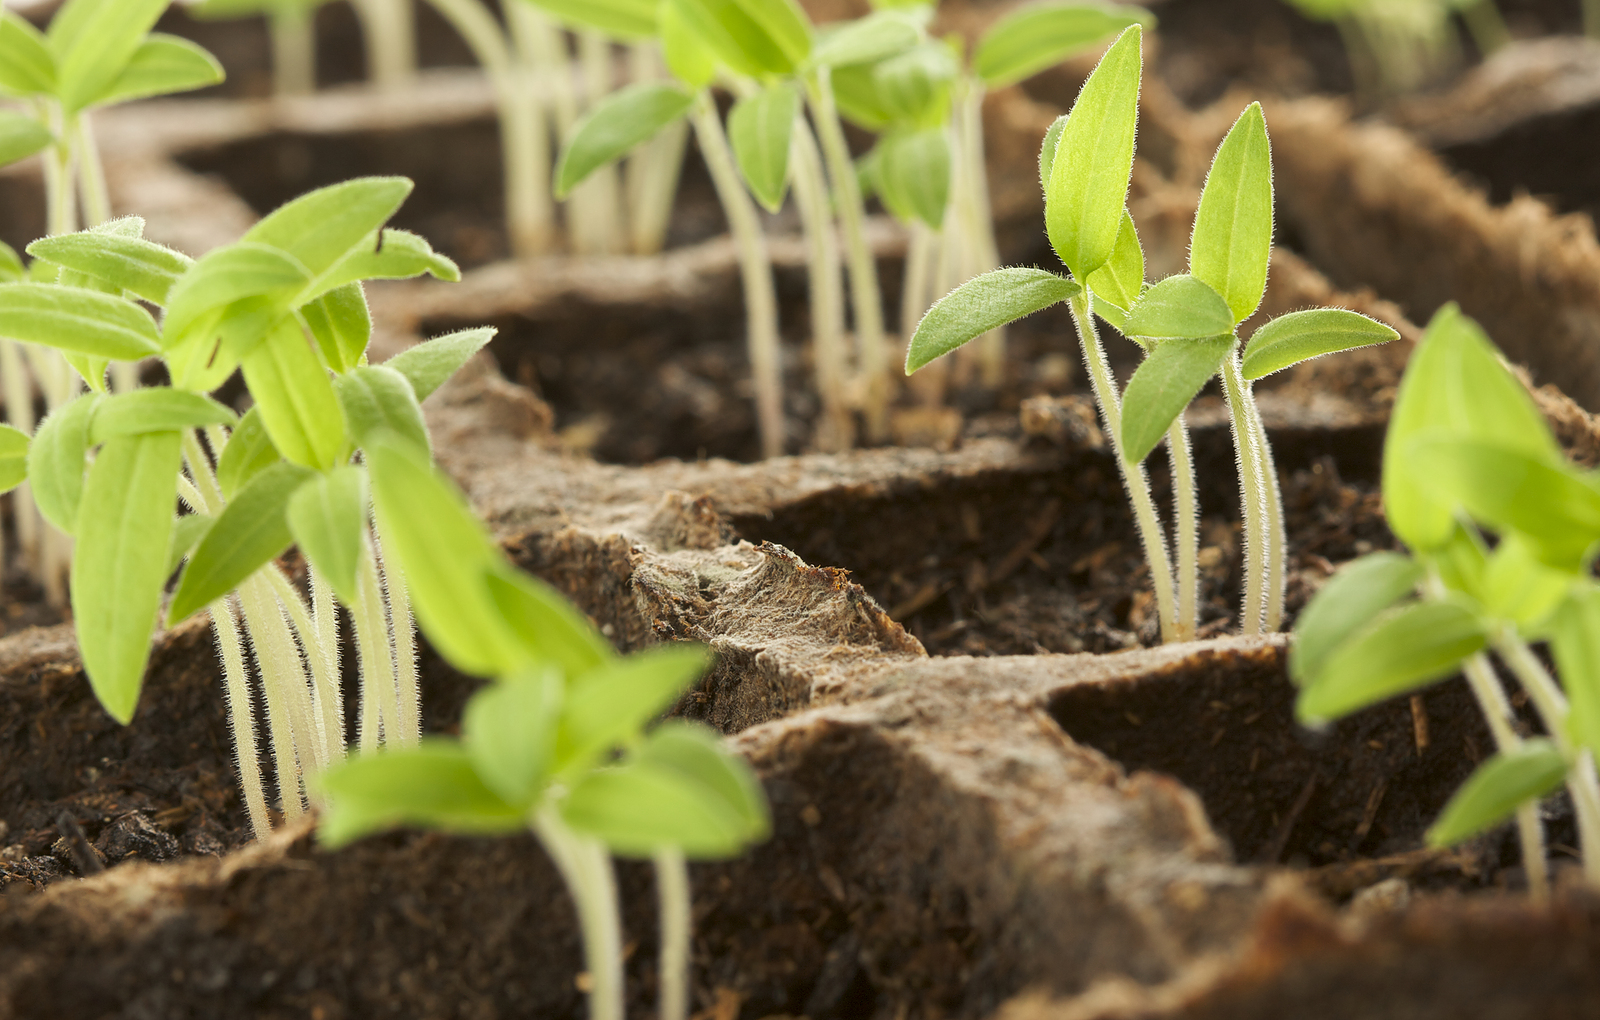
2. Use wide, flat containers to avoid overcrowding
.jpg)
Plastic pots or containers are preferable to clay pots when starting seeds, as they retain moisture more consistently.
Wide, shallow containers prevent both overcrowding of seedlings and excessive moisture around fragile, young roots.
Plants that resent root disturbance when transplanted are best sown into small, individual containers like cell packs or plug trays.
3. Use a soilless seed-starting mix when starting the seeds
Spread the mix evenly over the top of the seeds to the depth of two times the seed diameter. Very small seeds and those that require light to germinate should lie directly on the surface.
Whether covered with planting medium or not, each seed must be in firm contact with the moist surface to begin germinating. Use a pestle or even the bottom of a glass to gently tamp down the surface.
4. Proper watering and air movement
Seeds are very sensitive to the extremes of over watering and under watering. Excessive water and poor air circulation will cause a fungal infection often referred to as damping-off.
Cover trays with plastic wrap to keep the moisture level constant. In addition, heavy-handed watering can disturb newly germinated seedlings. Securing plastic wrap over the surface of a freshly sown seed pot can help to keep the moisture level constant. However, the pot must still be checked daily for moisture and germination.
If you find that you need to rehydrate your seed container, place the entire pot in a basin with 2 to 3 inches of warm water and allow the planting medium to wick moisture from the bottom. If just the surface has dried, you can lift the plastic covering and spritz the surface with water from a spray bottle. As soon as the seeds germinate, remove the plastic wrap.
5. Keep seeds warm to encourage germination

Most seeds require temperatures of 65° to 75°F to germinate. Placing seed containers near an existing heater or using a space heater with the proper precautions can raise the ambient temperature as needed.
In addition, a heating pad designed for plant use placed directly under the seed containers will warm the planting mix and encourage germination. When using any additional heat source, be sure to check for moisture often, since the seed containers may dry out more quickly.
6. Turn seedlings daily to keep stems strong
Most seeds will not germinate without sunlight and will perform best with 12 to 16 hours each day. Indoors, place seed containers in a sunny, south-facing window and give the container a quarter turn each day to prevent the seedlings from overreaching toward the light and developing weak, elongated stems. Also, gently brush the palm of your hand against the tops of the seedlings to encourage strong stem growth.
7. Feed them well
After true leaves develop, it's time for a little fertilizer. Proper nutrition at a consistent rate will keep your seedlings growing strong. Most seed-starting mixes contain a small nutrient charge to help make this transition while not burning the developing roots. However, once the true leaves emerge; we recommend using Natural Harvest liquid fertilizer at a half-strength regimen on a weekly basis.
8. Acclimate seedlings to the outdoors
Before seedlings can be planted outdoors, they need to be hardened off, or acclimated to direct sunlight and fluctuating temperatures. It is best to do this over a three-day period by placing them in direct sunlight during the morning only of the first day, then increasing their time outside by a few hours each day until they are vigorous enough to be transplanted. A useful way to do this is buy building a cold frame structure.
.png)